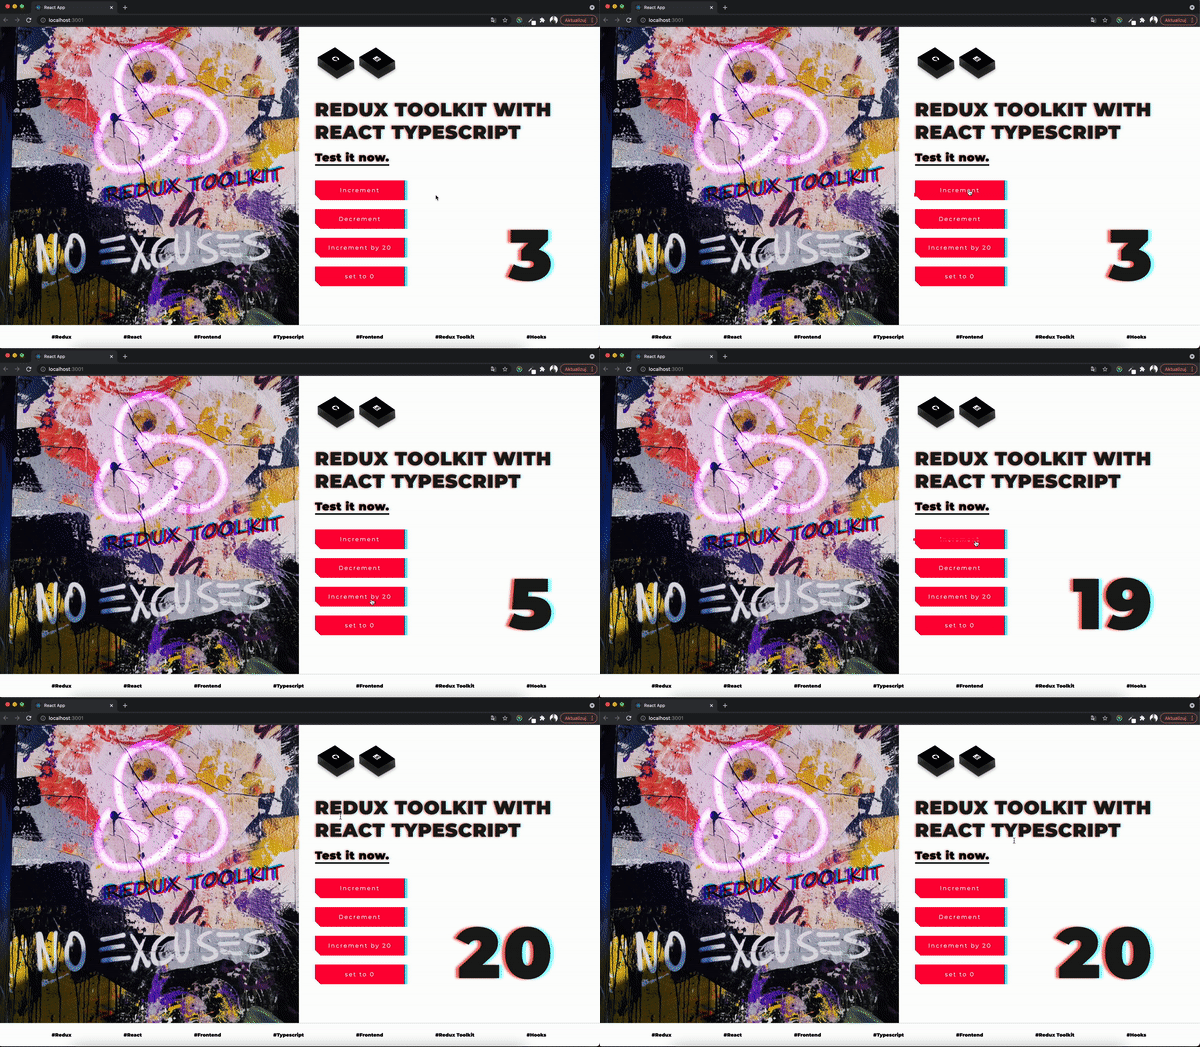
Today I prepared an article about writing Redux using the Redux Toolkit library, custom hooks, and TypeScript in React application. Enjoy!
Chapter 1 - Prepare yourself
Before you begin, make sure you have basic knowledge about the following topics:
- TypeScript,
- React,
- Redux & Redux Thunk,
- Hooks.
First of all, I have created a public repository with basic configuration including:
- styled-components,
- basic layout,
- tests,
- eslint & linters,
- aliases,
- and more…
You can download this repository from here: https://github.com/setamyDG/react-typescript-template
Feel free to copy that project and work on it during this article! :)
Chapter 2 - Journey begins
Next, let’s install necessary packages and dependencies for the project.
npm install
npm install @reduxjs/toolkit react-redux
After that, we’re able to start configuring Redux.
First, create ‚redux’ folder, and the file named store.ts inside, which will include reducers and required types.
import { configureStore, ThunkAction, Action } from '@reduxjs/toolkit';
import counterReducer from './counter/slice';

export const store = configureStore({
  reducer: {
    counter: counterReducer,
  },
});

export type RootState = ReturnType<typeof store.getState>;
export type AppThunk<ReturnType = void> = ThunkAction<ReturnType, RootState, unknown, Action<string>>;
Now, we can create custom hooks that will allow us to simplify getting redux state/actions. So let’s create hooks.ts inside the redux folder.
import { TypedUseSelectorHook, useSelector } from 'react-redux';
import type { RootState } from './store';

export const useAppSelector: TypedUseSelectorHook<RootState> = useSelector;
And now, we have everything prepared to implement the first reducer. Inside the redux folder make a counter folder (name of the reducer). But before creating a reducer itself, let’s start with his type. Create file types.ts and use the code below.
export interface CounterState {
  value: number;
}
Next, let’s make a slice.ts file which will include our reducer, initial state, and slice actions.
/* eslint-disable no-param-reassign */
import { createSlice, PayloadAction } from '@reduxjs/toolkit';
import { CounterState } from './types';

const initialState: CounterState = {
  value: 0,
};

export const counterSlice = createSlice({
  name: 'counter',
  initialState,
  reducers: {
    increment: (state) => {
      state.value += 1;
    },
    decrement: (state) => {
      state.value -= 1;
    },
    incrementByAmount: (state, action: PayloadAction<number>) => {
      state.value += action.payload;
    },
    setToZero: (state) => {
      state.value = 0;
    },
  },
});

export const { increment, decrement, incrementByAmount, setToZero } = counterSlice.actions;

export default counterSlice.reducer;
Long story short - in this file, first define the initial state of the reducer with the correct type. Then use the createSlice function to create the required parameters. The most interesting part is the reducer’s object, which is responsible for state manipulation. In this case, I've created actions to increment, decrement and reset the reducer value. Then the obvious thing - export. I hope that this approach with description makes it similar to the classic reducers in redux.
What are the advantages of using slices?
createSlice function generates action creators automatically with the same names as the reducer functions we wrote. It also generates the slice reducer function that knows how to respond to all these action types. As you know, writing immutable update logic in Redux by hand is hard, and accidentally mutating the state in reducers is the single most common mistake Redux users can make. Using the createSlice function you can write immutable updates an easier way, but remember that you can only write „mutating” logic in Redux Toolkit functions (createSlice, createReducer) because they are using Immer inside.
After that, we need to prepare an actions.ts file to dispatch our slice actions with redux-thunk type :)
import { AppThunk } from '@redux/store';
import { decrement, increment, incrementByAmount, setToZero } from './slice';

export const incrementValue = (): AppThunk => async (dispatch) => {
  dispatch(increment());
};

export const decrementValue = (): AppThunk => async (dispatch) => {
  dispatch(decrement());
};

export const incrementByAmountValue = (value: number): AppThunk => async (dispatch) => {
  dispatch(incrementByAmount(value));
};

export const setToDefault = (): AppThunk => async (dispatch) => {
  dispatch(setToZero());
};
Well well well… that was pretty fast and simple, right? Now we can use our custom hooks. How? Wherever you need access to redux state, use the code below:
import { useAppSelector } from '@redux/hooks';
…
const { value } = useAppSelector(({ counter }) => counter);

Then, just use the useDispatch hook to call your defined actions.

import { useDispatch } from 'react-redux';
import { decrementValue, incrementByAmountValue, incrementValue, setToDefault } from '@redux/counter/actions';
….
  const dispatch = useDispatch();

  const handleIncrement = (): void => {
    dispatch(incrementValue());
  };

  const handleDecrement = (): void => {
    dispatch(decrementValue());
  };

  const handleIncrementBy = (): void => {
    dispatch(incrementByAmountValue(20));
  };

  const handleSetToZero = (): void => {
    dispatch(setToDefault());
  };
Chapter 3 - Final result and summary:
What is the difference between normal redux library and the Redux Toolkit?
First of all, there is a lot less code. This approach is more readable and clearer than using for example connect function. You can access your store in a modern way with hooks and manage the state more easily. However, using the Redux Toolkit solution you’ll find more advanced usages of Redux. But in general, it’s simpler to extend the whole store and manage the reducers state. If you want to know more - check that link (https://redux-toolkit.js.org/tutorials/typescript). I’m sure that it will help you dispel your doubts :)
Feel free to add more reducers and actions as your homework after reading this article! If you have some questions, go ahead and ask them via email ->
daniel.gola@codetain.com
Best regards,
Daniel Gola
